Strain Measurement
 Strain
Strain measurement using strain gauges is available with WM2000 series.
Connecting the strain gauge to the measurement unit, measured results are sent to the PC connected to the communication unit.
In each measurement unit, synchronous measurement can be conducted by receiving common, synchronized signals from the PC communication unit.
Procedure of measurement
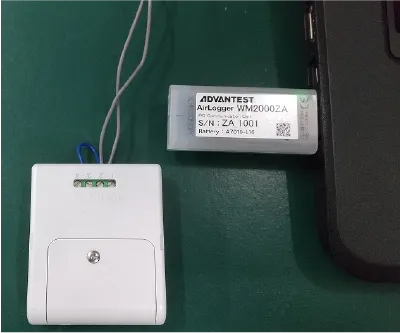
Attach wiring of the strain gauge to the measurement unit.
Connect the PC communication unit to the PC.
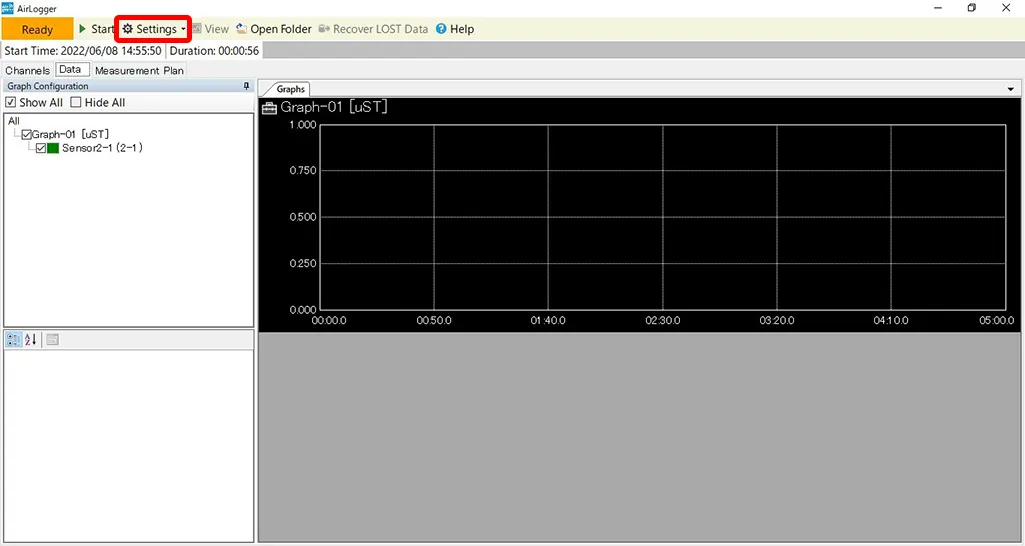
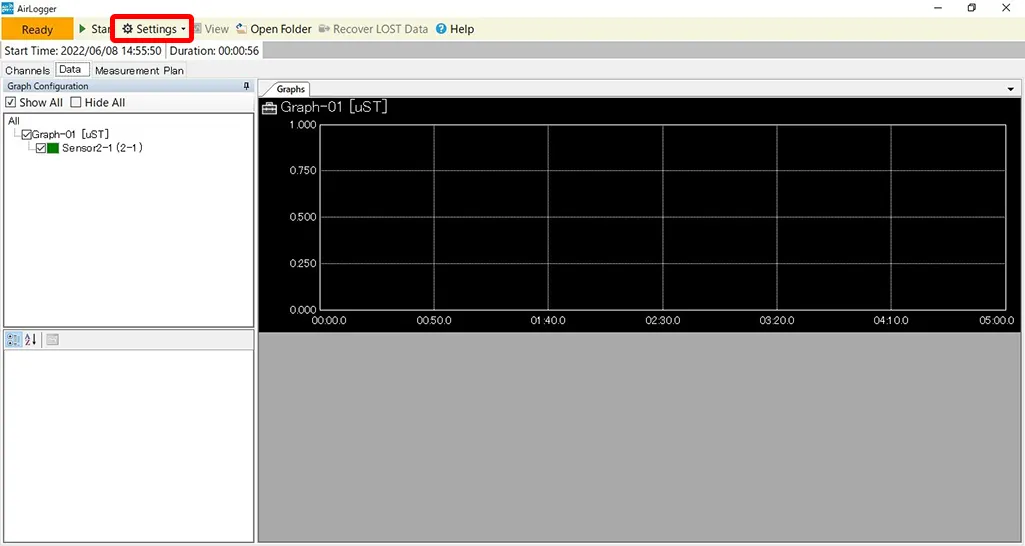
Activate the standard software.
- Activate the window for setting from “Settings -> [Setup…]”.
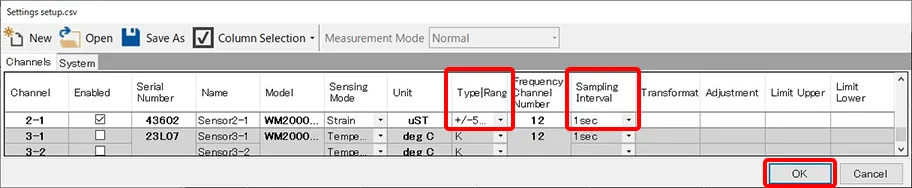
- Specify measurement range, according to the strain value of the object to be measured.
- Specify the sampling period where you can preserve logs you want.
- Click on the “OK” button.
Conduct the zero adjustment in the measurement unit.
The initial value of the strain gauge is not always zero, because of strain during adhering the gauge or fluctuation of resistor values.
Just before the measurement, conduct the zero adjustment and then set the initial value,
- Activate the window in “Settings -> [Zero Point Adjustment…]” for setting the zero adjustment.
- Click on “Execute” button after checking the check box of the measurement unit conducting the zero adjustment.
“Adjusted” displayed means success of the adjustment.
“Error” displayed means failure in wireless communication.
In case of unstable communication environment, try this operation again.
“Out Of Range” display means the status of the adjustment is out of range.
There are possibilities of connection mistake, disconnection and nonconformity between the sensor and the measurement instrument used.
Please confirm connection. - Click on “Close” button, when all measurement units placed the check marks are the state of “Adjusted”.

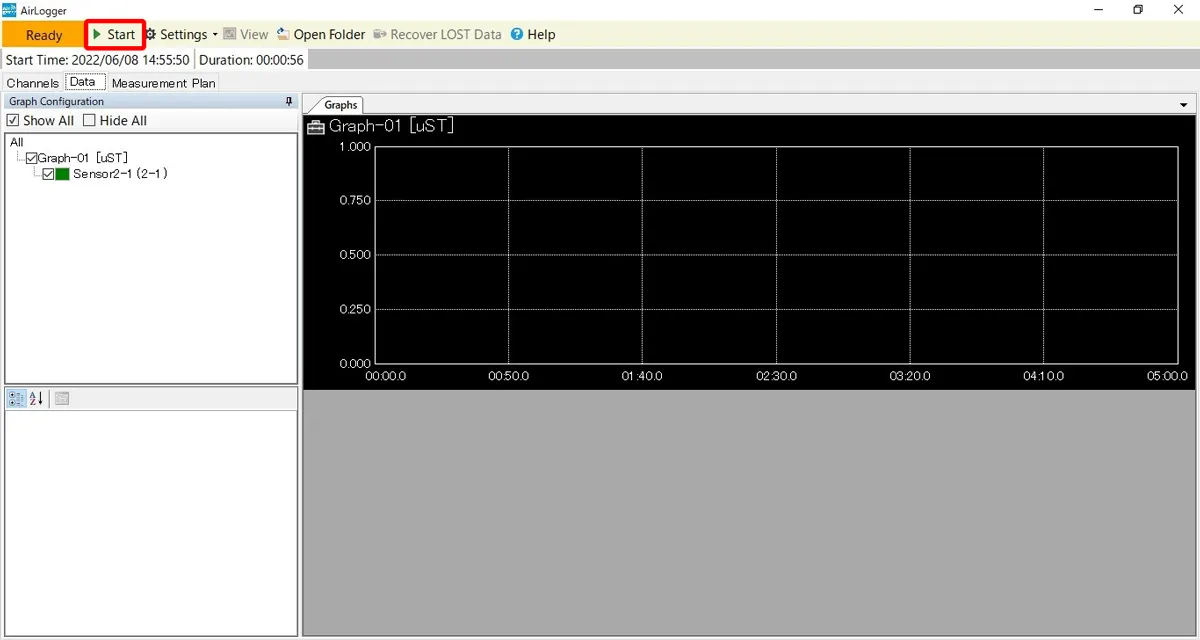
- Start the measurement after clicking on “Start” button and then “OK” button of the window for measurement conditions.
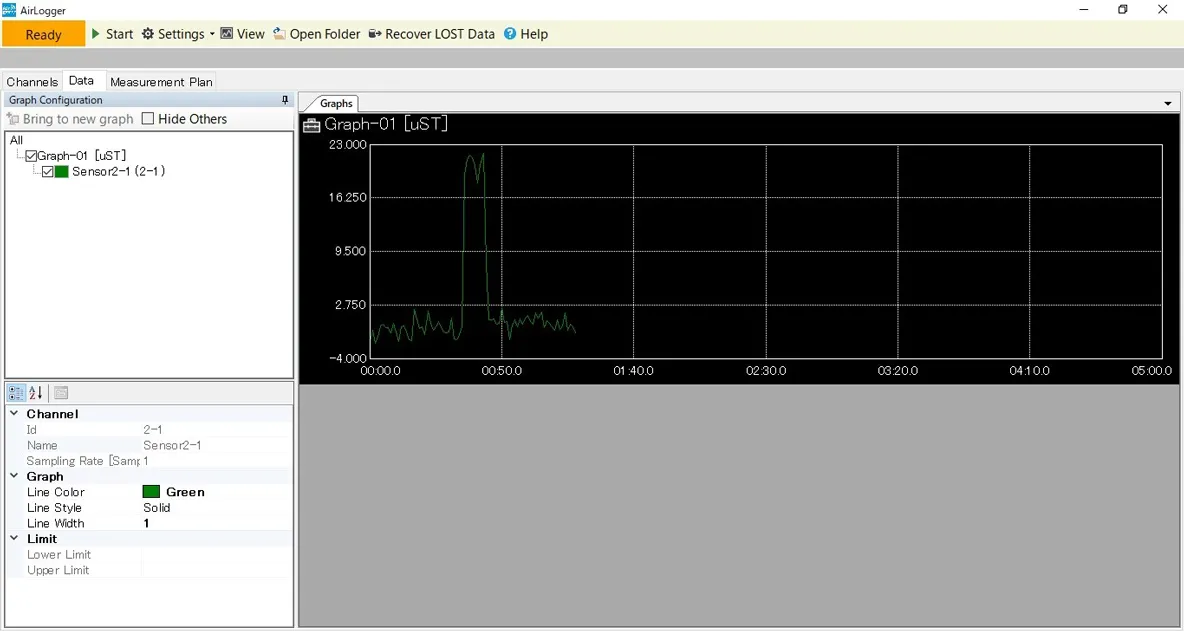
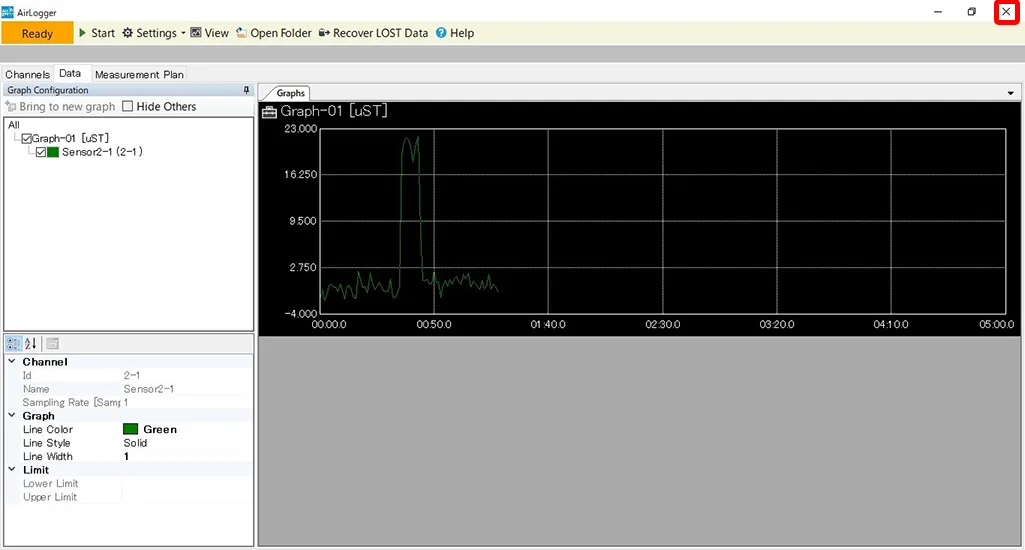
During measurement, you can confirm logs.
- You can change only Y axis within the range displayed.
- In case of expanding the not displayed range and the X axis, confirm them by activating the data display window.
- Only after using long monitoring mode, battery can be replaced during measurement. *
* If measurement could not be started because of low battery, measurement cannot be started during measurement.
Please restart from the settings.

You can stop the measurement after necessary period for measurement is finished.
After stopping the measurement, lost data are recovered automatically.
In case you fail on stopping the measurement or recovery of the lost data, execute forced reset of the measurement unit by “Settings -> [Force reset of all sensor units…]”.
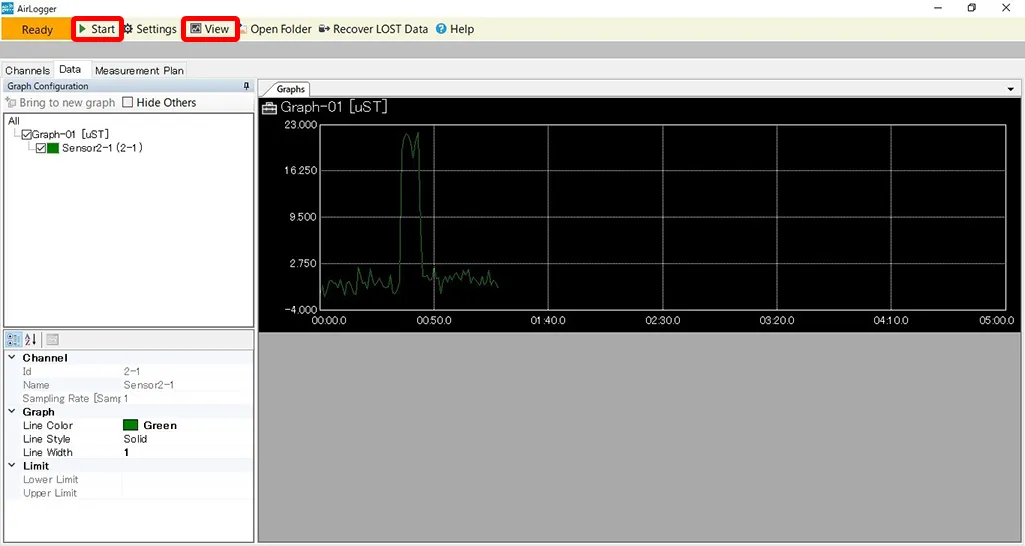
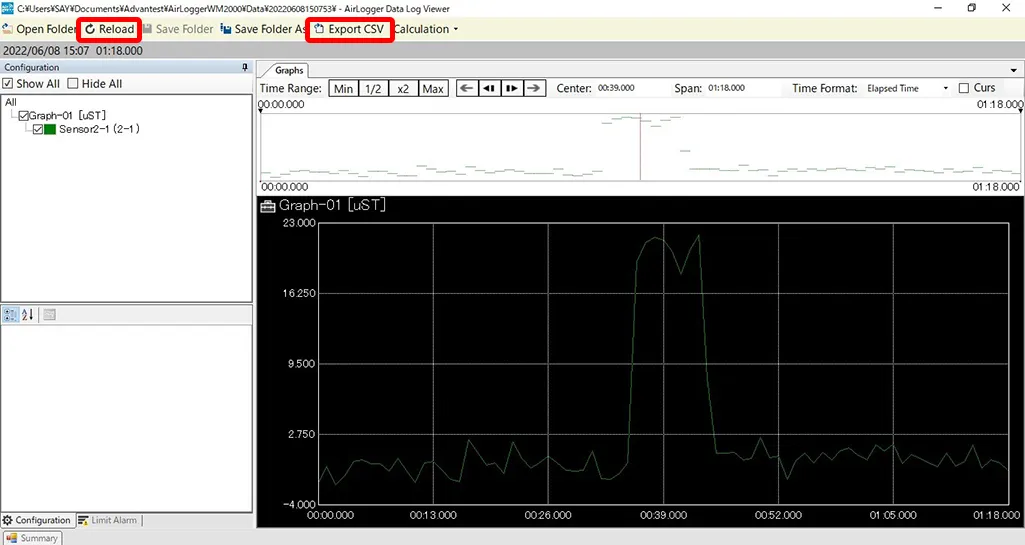
Click on “view” button and activate the data display window.
(In case that it already activates, you can also confirm the data display window by updating it.)
To export measurement results, you can output data in CSV format.
Log off the software.
In case that the measurement units have stopped measurement, they are automatically switched off when you log off the standard software.
 Measurement Know-How: Strain Measurement